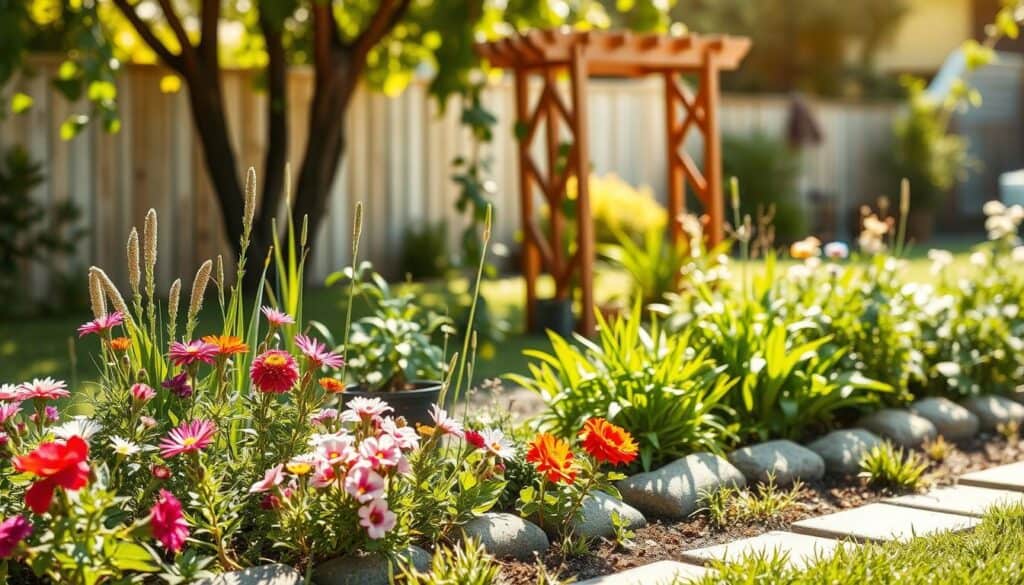
Turning your backyard into a lush, blooming paradise doesn’t need to cost a lot. You can make a beautiful focal point that adds height to your garden for under $60. This project is great for anyone wanting to improve their outdoor space with a rustic touch.
Learning how to build a wooden garden arch for climbing roses or vines is a rewarding DIY project. It’s perfect for both beginners and seasoned woodworkers. This guide will help you make a strong and beautiful structure.
Our detailed guide will take you from planning to the final assembly. You’ll learn how to prepare your site and train your plants to grow well on the new frame. With these easy steps, you’ll feel confident to finish a structurally sound project that boosts your home’s look. Let’s start on your new backyard masterpiece.
Visit The Marketplace or grab your Free Garden Starter Kit
Planning Your Garden Arch Design and Location
Building a outdoor structure starts with choosing the right spot in your yard. This spot should get enough sunlight for your climbing plants. It’s key to pick a location that works well with your plants.
Think about the size of your garden when picking a spot. A big arch might look out of place in a small area. A small arch could get lost in a big garden. Proper planning helps your wooden trellis fit right in.

Drawing out your idea is a good way to see how it will look. This helps you figure out the right size for your path or entrance. A clear plan helps you avoid mistakes and saves time.
Here are some tips to help you plan:
- Measure your path width to ensure it’s wide enough for walking.
- Check the soil quality to make sure it can hold the structure’s weight.
- Find rose arch designs that match your home’s style.
- Make sure the spot is easy to maintain for your vines.
Spending time on planning makes building easier. You’ll feel more confident as you start building. A well-planned archway adds beauty to your backyard.
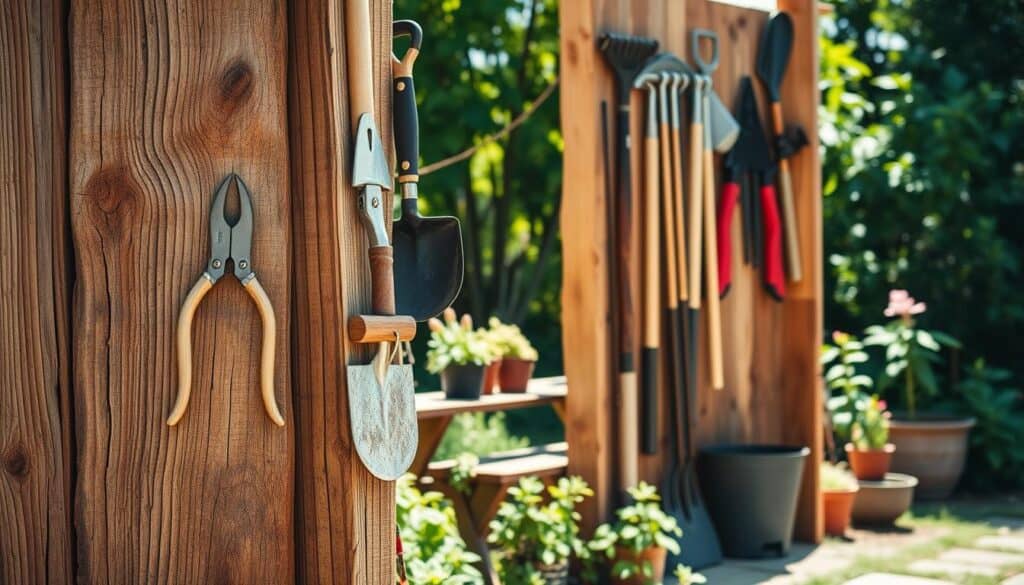
Essential Tools and Materials for Your Project
Getting your materials ready is key to a strong garden structure. Choose cedar or pressure-treated pine for a vine support structure that lasts. This choice saves you time and effort later on.
Before starting, make sure your workspace is set up. Having your tools ready lets you focus on the details. A well-organized space is the sign of a successful DIY project.

For a wooden arch for climbing plants, you need the right tools. Make sure you have these to keep your project flowing smoothly:
- Circular saw for precise cuts
- Power drill for assembly
- Level to ensure perfect alignment
- Measuring tape for accuracy
- Weather-resistant screws for longevity
Always check your garden structure plans for the right hardware. Use galvanized or stainless steel fasteners to avoid rust. With quality wood and the right tools, your garden will look great for years.
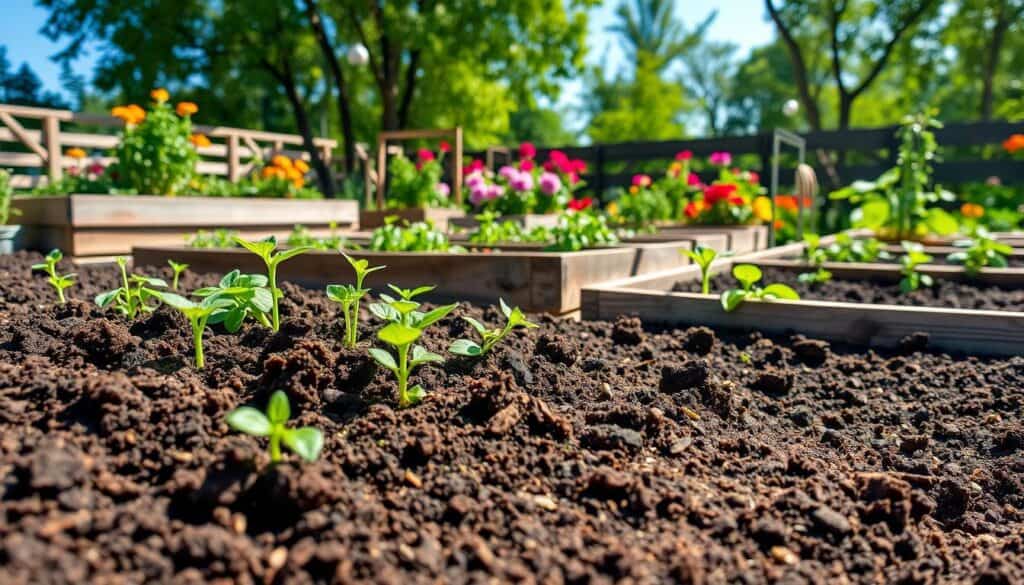
Preparing the Site and Foundation
A solid foundation is key for a lasting wooden archway for roses. Start by clearing the area of debris and making sure the ground is level. A stable base stops your structure from leaning in the wind or when plants get heavy.

Using Concrete for Permanent Installation
For a wooden garden arch that lasts decades, concrete is the way to go. It offers maximum stability and keeps the wood dry, preventing rot.
Here’s how to get a secure footing:
- Dig holes at least 24 inches deep to reach below the frost line.
- Add a layer of gravel at the bottom for proper drainage.
- Pour concrete around the base of your posts while checking for vertical alignment.
- Allow the concrete to cure fully before attaching any crossbeams.
Using Metal Spikes for Semi-Permanent Structures
Many prefer metal spikes for their ease of use in wooden garden arch plans. These spikes are simple to drive into the ground and don’t need heavy cement mixing.
Remember these tips for using spikes:
- Ensure the spikes are driven perfectly straight into the ground.
- Check the stability of your climbing roses trellis every season.
- Tighten any hardware that may loosen due to ground movement.
- Use a level to confirm your posts remain plumb during installation.
Proper site preparation is the most important step in your project. By choosing the right foundation method, you ensure your garden feature remains a beautiful focal point for years to come.
Constructing the Side Trellis Panels
Building the side trellis panels is where your vision for a beautiful garden arbor with trellis comes to life. These panels are the vertical backbone of your structure. They provide a surface for your favorite climbing plants to thrive.
When you build a wooden archway for vines, these sides are both structural support and a decorative focal point.
Precision is key during this phase. If you’re learning how to build a cedar arbor, make sure your measurements are exact. Cutting your wood pieces to the same length ensures both sides of your arch are perfectly symmetrical.

To achieve a professional look, follow your rose archway plans closely while spacing your slats. A consistent lattice pattern looks elegant and supports healthy plant growth. Here’s how to create a sturdy grid:
- Measure and mark your vertical posts at equal intervals for uniform spacing.
- Cut your horizontal slats to the desired width, keeping them consistent for a clean look.
- Attach the slats securely using weather-resistant screws to prevent wood from shifting over time.
- Check the squareness of each panel before moving on to the next section of your build.
Once you finish these panels, they’ll support your climbing roses or clematis. This architectural element adds height and charm to any outdoor space. By focusing on quality construction now, your garden feature will remain stable and beautiful for many seasons.
Building the Archway Top and Decorative Elements
Your diy garden archway comes to life with the rafters and decorations. This top part gives your project its character and connects the side panels smoothly. It’s the main focus of your garden entrance.
To make the signature shape, cut rafters with a gentle curve or sharp angle. These pieces are a strong wooden climbing rose support. Make sure to measure carefully so the top fits well on the side panels.

Adding custom details can make your archway look more sophisticated. Small changes can greatly improve your outdoor space’s look. Think about these decorative additions to boost your design:
- Attach decorative finials to the ends of your rafters for a classic look.
- Use custom trim to hide joints and create a seamless appearance.
- Apply a decorative cap to the peak of the arch for extra height.
- Incorporate small wooden brackets to provide additional stability.
A well-made top piece makes your climbing plant support arch last all seasons. Focus on these final details to create a lasting beauty. Make sure all connections are tight and level before finishing.
Assembling the Structure Safely
Seeing your wooden garden trellises come together is very rewarding. This is when your simple garden arch design starts to take shape. It’s important to have someone help you because the pieces can be heavy and hard to handle alone.
Having a helper makes it easier to line up the top rafters with the side posts. While they hold the weight, you can focus on screwing the frame together. This teamwork helps keep your backyard wooden arch stable and straight.

Making your handmade rose arbor look professional requires precision. Use a spirit level to make sure the structure is perfectly straight. If it’s not, it can cause problems with the joints over time.
To keep your project safe and strong, follow these important steps:
- Make sure all vertical posts are straight using a level.
- Secure every fastener tightly to avoid wobbling or loose connections.
- Put in temporary diagonal bracing to keep the frame square while you work.
- Check that all decorative parts are centered and even with the rafters.
- Make sure the base is securely anchored before removing any temporary supports.
Safety is key during this final stage. Make sure all hardware is made for outdoor use to avoid rust and damage. Once everything is tightened and braced, you can be sure your garden feature will last for years.
Finishing Touches and Weather Protection
A beautiful garden design needs protection from the weather. After you assemble it, applying a protective coating is key. This step prevents moisture damage and keeps your structure looking good for many seasons.
If you made a cedar rose arch, a clear sealant is a good choice. It shows off the wood’s natural grain and color. Cedar resists decay, but a UV-blocking finish keeps it from turning gray. For pine or other softwoods, a tinted stain or paint offers better protection against the weather.

Choosing the right finish for your diy garden structure is important. Look for finishes that deeply penetrate the wood. They protect the fibers from within. Here are the key benefits of a proper finish:
- Moisture Resistance: Stops water from getting into the wood and causing damage.
- UV Protection: Keeps the surface from sun damage that causes fading and brittleness.
- Insect Deterrence: Many stains have additives that keep termites and other pests away.
- Aesthetic Appeal: Makes the wood look better and gives a clean, professional look.
When working on a diy pergola arch, make sure the wood is dry first. Apply the finish in thin, even coats to avoid drips. This ensures a smooth, durable surface. By doing these final steps, your garden feature will stay beautiful for years.
Selecting and Training Climbing Plants
Choosing the right plants is key to turning your wooden structure into a masterpiece. Whether you’re using climbing rose trellis plans or adding greenery to a rustic arch, the right plants make a big difference. They add color and fragrance, turning a simple build into a garden sanctuary.
Think about how plants will work with your structure when planning your garden makeover. A white rose archway offers elegance, while other vines bring different textures and bloom times. Here are some popular options for your vertical support:
- Climbing Roses: These provide classic beauty and a wonderful scent.
- Clematis: Known for their vibrant, large flowers and fast growth.
- Jasmine: An excellent choice for adding sweet fragrance to your outdoor space.
- Wisteria: Perfect for creating a dramatic, cascading effect over a wooden trellis arch.

After planting, train the plants to climb. Gently guide the stems toward the trellis as they grow. Use soft garden twine to secure them. Consistent training helps plants cover the structure evenly, avoiding bunching.
Regular maintenance keeps your display healthy and vibrant. Light pruning throughout the season removes dead growth and encourages new blooms. With proper care, your structure will become a lush, blooming tunnel, a stunning focal point in your yard.
Conclusion
Building a cedar wood garden arch changes your outdoor space for the better. It’s a beautiful diy project that brings nature closer. Now, you have a handmade arbor that makes your backyard look like a pro’s.
Your new structure is perfect for climbing plants for years. It works great for clematis or climbing roses. This easy project is a great base for gardening with climbers.
This wooden garden arch tutorial is just the beginning. You might want to build a wooden pergola or a grand entrance pergola next. A cedar arbor with trellis adds beauty, and a heavy duty arch supports heavy vines.
Every vine trellis archway you make adds value to your home. A simple arch is great for small paths, and a rose tunnel arch is perfect for a romantic walk. Use your plans to create a beautiful entrance or even a wedding arch.
Share your work with others to inspire more garden arch designs. Your efforts help local biodiversity. Enjoy the peaceful vibe as your plants bloom.