Long afternoons in the garden can leave your joints stiff and sore. If gardening is your passion but the physical strain is a problem, making a garden kneeler is the answer. This project turns your outdoor time into a more comfortable experience, supporting your knees and back.
Building a homemade garden kneeler and seat is easy with basic tools from any hardware store. This tool is strong, easy to carry, and quick to put together in under an hour. This guide is for everyone, showing you How to Make a Garden Kneeler and Seat from Two Pieces of Wood with little effort.
Spending a bit of time today will give you a tool that makes gardening easier. Your body will appreciate the comfort after a long day. Let’s start this DIY project that adds both usefulness and comfort to your gardening.
Visit The Marketplace or grab your Free Garden Starter Kit
Why Every Gardener Needs a Dual-Purpose Kneeler and Seat
If you spend hours in the garden, you know the toll it takes on your joints. Constant kneeling on hard ground or bending over for long periods can lead to significant discomfort in your lower back and knees. Building a diy garden kneeler is a smart way to protect your body while you tend to your favorite plants.
A diy garden seat offers the flexibility you need to switch positions throughout the day. By simply flipping the structure, you can move from a low-profile kneeling position to a comfortable bench. This transition helps distribute your weight and reduces the pressure on your muscles during long planting sessions.

Having a reliable garden kneeler and seat in your shed changes your entire gardening experience. It serves as a foundational piece of equipment that keeps you productive and pain-free. When you have the right support, you can spend more time enjoying your flowers and vegetables, not recovering from aches.
Many enthusiasts agree that the best diy garden kneeler is one that is built to last. A sturdy garden seat and kneeler combo provides a stable platform that supports your weight safely. Consider these primary benefits of adding this tool to your collection:
- Reduced strain: Keeps your knees off the cold, hard ground.
- Improved posture: Allows you to sit comfortably while pruning or weeding.
- Enhanced versatility: Easily adapts to different tasks in your flower beds.
- Long-term health: Protects your joints from repetitive stress injuries.
Investing time in a multi-purpose garden seat diy project ensures you have a custom solution tailored to your needs. You will find that this simple wooden accessory becomes an essential part of your outdoor routine. It is a practical upgrade that makes every hour spent in the garden much more enjoyable.
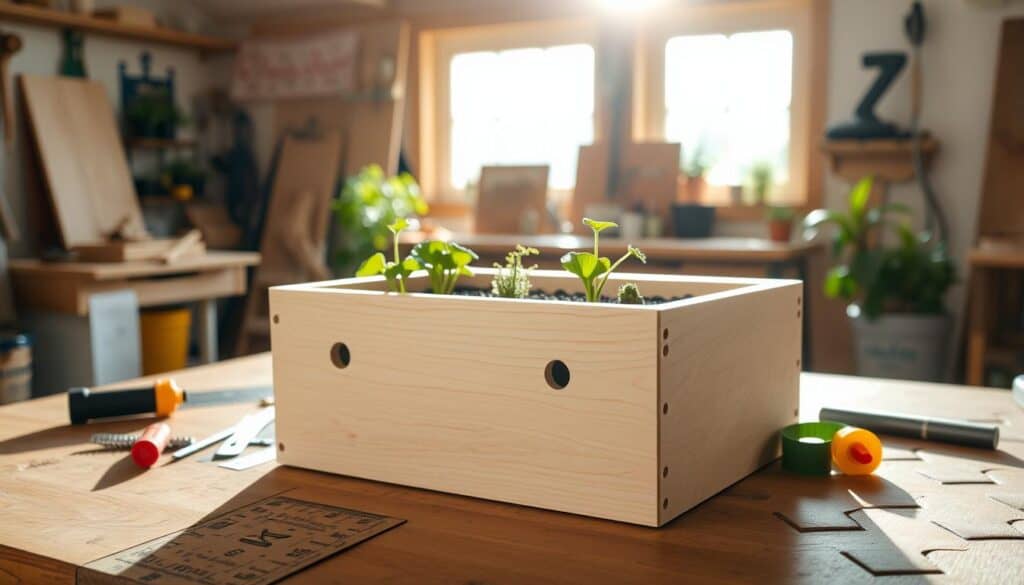
Essential Tools and Materials for Your DIY Project
Getting ready for your woodworking project garden kneeler means organizing first. The right tools make your project smooth and safe. Good garden woodworking plans lead to a professional finish.
Before starting, check your workspace and gather tools. Many woodworking projects for the garden need just a few basic tools. Having them ready saves time and stress.

For this project, set up your workbench with key items. These simple wood projects for gardeners are great for all skill levels:
- Circular saw for clean cuts on wood boards.
- Power drill for pilot holes and screws.
- High-quality wood screws for outdoor use to avoid rust.
- Sandpaper or a sanding block for smooth edges.
- Measuring tape and a carpenter’s square for accurate angles.
Choosing the right hardware is as important as picking the wood. For woodworking for gardeners, pick a seat that can handle moisture and heavy use. Always use galvanized or stainless steel screws for durability.
Spending time on preparation makes your backyard woodworking projects more fun. With tools ready and materials measured, you can start with confidence. Good preparation leads to a lasting garden accessory.
Selecting the Best Wood for Your Garden Kneeler
Choosing the best wood for your garden kneeler is key to its durability. A basic wood garden kneeler faces constant moisture, soil, and sunlight. It’s important to pick wood that can handle these conditions.
Cedar is a great pick because it has natural oils that fight rot and decay. For a budget-friendly garden seat, pressure-treated pine is also a good choice. It holds up well in damp outdoor settings.

Think about the weight the wood needs to hold when designing your garden kneeler design ideas. Hardwoods are strong, but softwoods like cedar are easier to work with. This makes them perfect for an inexpensive garden kneeler diy project.
Choosing the right lumber gives you a sturdy base for comfort while gardening. Using weather-resistant materials means your furniture will last for many seasons.
How to Make a Garden Kneeler and Seat from Two Pieces of Wood: Step-by-Step
Learning how to make a garden kneeler and seat from two pieces of wood is a great way to improve your gardening tools. It’s affordable and efficient, allowing you to make a strong accessory quickly. You can finish this project in just a few hours with a clear plan.
Making a homemade garden kneeler is easy, even for beginners. These step-by-step garden kneeler instructions are simple and effective. Working with just two boards makes the project straightforward and manageable.
This easy diy garden kneeler tutorial focuses on precision and simplicity. Using only a few parts reduces the risk of mistakes. Your goal is to make a tool that supports your body while gardening.

Begin your step-by-step garden kneeler diy by choosing quality materials. A 2 piece plywood garden kneeler is durable and strong. Make sure your workspace is clean and your tools are ready before starting.
The diy garden kneeler using two pieces of wood is versatile. It can be flipped for use as a seat or knee pad. It’s a smart, space-saving option for gardeners.
Finishing your quick diy garden kneeler will make gardening easier. Once done, you’ll wonder how you gardened without it. Follow each step carefully to ensure your kneeler is stable and ready for outdoor use.
Measuring and Cutting Your Plywood Boards for Precision
Getting your measurements right is key to a great plywood garden kneeler. When you stick to your plans, your kneeler will be stable and safe. This is important for everyday use.
Before you start cutting, mark your lines with a sharp pencil and a framing square. This step is essential for anyone working on plywood projects for garden. It helps your pieces fit together perfectly. Staying true to your plans avoids mistakes.

Wondering how to build a garden kneeler from plywood? The trick is in your cutting. Use painter’s tape on your cut line to avoid splintering. This plywood garden kneeler diy trick keeps your edges clean and professional.
Always use a fine-tooth blade for cutting. This ensures smooth edges. Sanding the edges after cutting is a good idea. It makes your wooden garden kneeler plans easier to follow.
Precision is the key to a strong structure for your garden. Whether you’re making a diy plywood kneeler or learning to make one from plywood, be patient. A well-measured board is the first step to a durable garden accessory.
Assembling the Two-Piece Structure for Maximum Stability
Let’s turn wood into a useful garden tool. When you start constructing a garden kneeler, the assembly is key. A good garden bench diy needs a strong frame that won’t move or bend.
For a solid build, focus on tight joints. Wood glue is a good start, but screws are key for lasting strength. When you learn how to build a garden seat, remember to pre-drill holes. This helps prevent the wood from splitting, which is important for a plywood garden bench.

To make a build your own garden seat that lasts, follow these steps. They help keep your structure stable:
- Apply a generous bead of waterproof wood glue to all contact surfaces before joining.
- Use galvanized screws to prevent rust and ensure the wood stays firmly in place.
- Check that all corners are square to avoid any annoying wobbling while you work.
- Tighten every screw until the head is flush with the surface for a clean finish.
A sturdy wooden garden kneeler depends on its joints. By securing your frame well, you make a reliable base for gardening. Knowing how to build a wooden garden seat and kneeler right lets you switch between sitting and kneeling safely.
Adding Comfort Features to Your Wooden Garden Seat
You can make your simple plywood garden seat more comfy by adding soft materials. These protect your joints during long hours in the garden. The structure supports you, but comfort features make it a joy to use.
Adding high-density foam and tough fabrics turns a basic seat into a diy padded garden kneeler. It feels like a pro tool. This makes gardening easier on your knees and back, letting you enjoy your plants more.

To make a comfortable garden kneeler diy project, use weather-resistant materials for padding:
- High-density upholstery foam for lasting support.
- Marine-grade vinyl or outdoor canvas for the outer cover.
- Heavy-duty hook and loop fasteners for easy removal.
- Waterproof adhesive to secure the foam to the wood.
Using a gardening kneeling pad diy approach keeps your body safe all season. Just cut the foam, wrap it in fabric, and attach it to the seat. This easy change makes gardening more enjoyable and keeps you going longer.
Ergonomic Design Tips for Protecting Your Knees and Back
Creating a garden seat is more than just building with wood and nails. It’s about focusing on how your body moves. When you make a diy kneeler for gardening, you can tailor it to fit you perfectly. This customization helps prevent the tired feeling that can ruin your gardening time.
A good knee saver for gardening diy projects spreads out the weight evenly. A wide, stable base helps avoid putting too much pressure on your joints. Make sure the seat height is right so your hips and knees stay in line.

Building an ergonomic garden kneeler diy means thinking about how your body moves during gardening tasks. Keeping your spine straight is key to avoiding back pain. Adjustable features or the right height can make a big difference when you’re gardening for a long time.
Many gardeners deal with joint pain, but using easy on knees garden tools can help. Your wooden structure helps you maintain good posture, making it easier to move around. Reducing physical stress is the main goal of any garden accessory.
If you’re looking for ways to ease knee pain, add soft padding to your wooden frame. Foam or rubber matting can offer the cushioning needed to protect your joints. Investing in comfort makes your DIY project a health-conscious tool for many seasons.
Finishing Techniques to Weatherproof Your Garden Accessory
Protecting your wooden garden kneeler from the elements is key to its longevity. It will be exposed to damp soil, rain, and sunlight. A high-quality finish acts as a durable shield against these harsh conditions.
Use exterior-grade stains, sealants, or paints for a reliable barrier. These products stop moisture from getting in, preventing warping, rotting, or swelling. They also offer essential UV resistance, protecting the wood from the sun.

The right finish also enhances the wood’s natural beauty. A transparent stain can show off the wood’s patterns and textures. Outdoor paint adds color and is easy to clean and maintain.
Proper sealing ensures your garden accessory stays in great shape all year. Apply at least two coats, letting each layer dry fully. This way, you’ll have a sturdy and attractive garden companion for years.
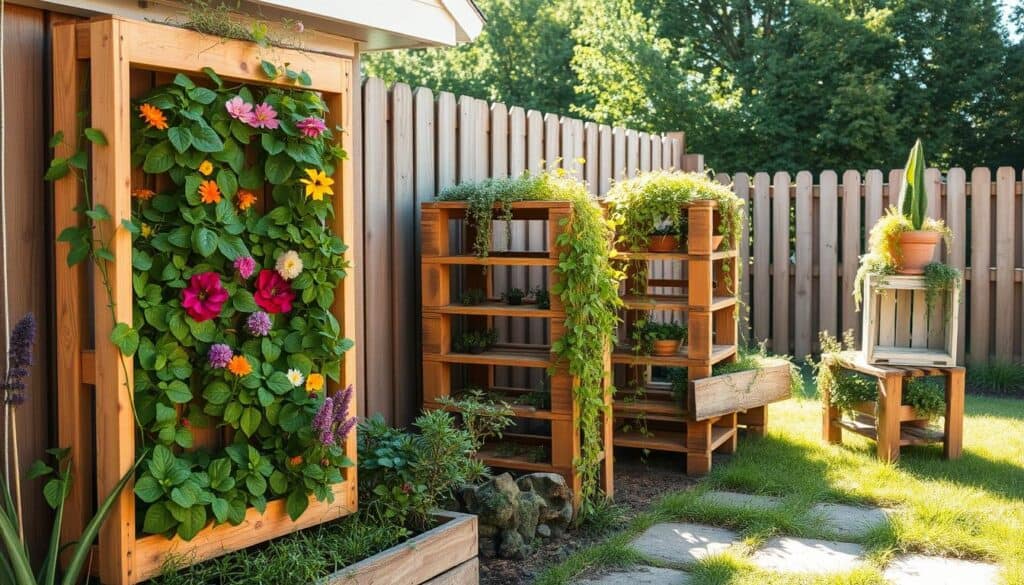
Creative Customizations for Your Homemade Garden Kneeler
After building the basic structure, you can make your garden seat unique. These diy gardening accessories help you customize your tools for your yard. Whether it’s a simple scrap wood garden kneeler project or a complex design, small changes can make a big difference.
Adding side handles is a great way to enhance your seat. A garden kneeler with handles makes it easier to move around. You can add wooden dowels or metal drawer pulls to the sides of your scrap plywood garden projects.

For better organization, consider a diy garden kneeler with storage. Small pockets or a compartment under the seat can hold tools and gloves. This smart design choice means you won’t have to keep going back to the shed.
Here are some popular upgrades to think about:
- Side-mounted tool holsters for quick access to shears and trowels.
- Weather-resistant fabric pockets to hold seed packets and garden markers.
- Non-slip rubber feet to keep it stable on wet or uneven grass.
- Hinged seat tops that reveal a hidden storage compartment for small items.
Even with a foldable garden kneeler diy, these features are very useful. Personalizing your build makes a versatile tool that supports your back and knees. It also keeps your tools organized. These thoughtful additions make your garden seat a key part of your outdoor routine for years.
Maintenance Tips to Keep Your Garden Seat Lasting for Years
Proper care is the secret to keeping your wooden garden seat lasting for years. By spending a little time on routine upkeep, you protect your investment. This keeps your equipment in top shape.
Consistency is key for outdoor furniture. We suggest checking your seat after every few gardening sessions. This ensures it stays solid and safe for use.

To keep your project looking great and working perfectly, follow this simple maintenance routine:
- Inspect hardware: Regularly check all screws and joints to ensure they remain tight and secure after frequent use.
- Clean surfaces: Wipe down the wood after each gardening session to remove dirt, moisture, and garden debris.
- Apply sealant: Reapply a high-quality protective sealant annually to prevent the wood from weathering or rotting prematurely.
- Store properly: Keep your seat in a dry, sheltered area during the off-season to avoid unnecessary exposure to harsh elements.
Taking these proactive steps prevents minor issues from turning into major repairs. A well-maintained garden kneeler will provide comfort and support for your knees and back for many years to come.
Conclusion
Building your own garden kneeler and seat changes how you garden. It mixes useful work with the fun of making things. Now, you have a strong, comfy tool for gardening.
This project is a great way to start your spring gardening. You used top-notch materials like Minwax stains and Gorilla Glue. Your seat will last a long time, and your back and knees will thank you.
This is just the beginning of your DIY gardening journey. Your friends and family might be impressed by your work. These items are great gifts for anyone who loves gardening.
Look into more DIY gardening projects to grow your collection. Sharing your skills lets others garden without getting tired. Pick up your tools and start improving your backyard today.