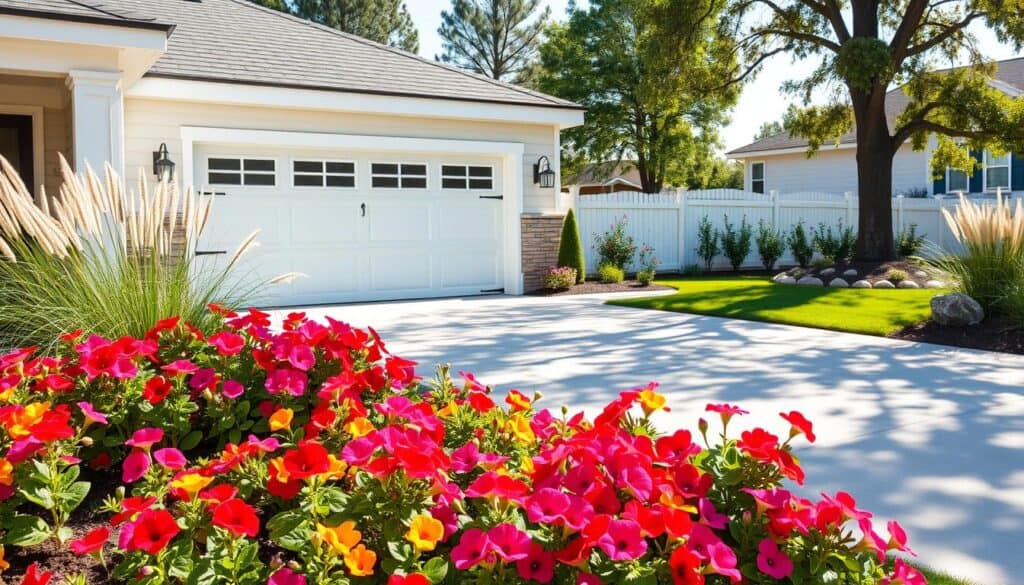
Turning your backyard into a lush garden oasis is easier than you think. Many homeowners dream of growing fresh veggies or vibrant flowers. But, they often feel scared of complex construction projects. Luckily, you can make a stunning raised planter box that boosts your gardening skills without needing to be a pro carpenter.
This guide will show you how to build a ladder styled vertical planter from cedar boards in just one afternoon. We focus on making it easy and simple, so even beginners can do it without stress. Cedar is a great choice because it naturally fights off rot and insects. This means your garden structure will stay durable and beautiful for many years.
Whether you have a big lawn or a small patio, this project fits right into your weekend plans. You’ll learn to tackle DIY projects and create a space for your favorite plants. Let’s start on your new favorite backyard feature.
Visit The Marketplace or grab your Free Garden Starter Kit
Why Cedar is the Best Choice for Your Garden
Cedar boards are the top pick for outdoor projects. They are perfect for your garden. Cedar combines beauty with durability in a way that’s hard to find in other woods.
People love cedar because it naturally resists rot, decay, and insects. Unlike other softwoods, cedar doesn’t need chemicals to fight off the elements. Its natural oils protect it, making it great for areas with lots of moisture.

Another big plus is safety. Cedar’s natural resistance to pests means no harmful chemicals in your soil. This creates a chemical-free space ideal for growing organic veggies and herbs.
Here are the main benefits for your garden project:
- Natural Durability: It doesn’t warp or shrink, even in bad weather.
- Organic Safety: It’s safe for plants you eat because it doesn’t have toxic preservatives.
- Aesthetic Appeal: It has a beautiful grain that looks even better as it ages.
- Lightweight Strength: It’s easy to work with but strong enough for heavy soil.
Choosing high-quality cedar boards means your planter will last a long time. It will stay both useful and beautiful. Making this choice now saves you time and money in the long run. It’s a wise, eco-friendly choice for any gardener.
Essential Tools and Materials for Your Project
Starting your wooden planter box project is exciting. Make sure you have all the right tools and materials ready. This way, your easy woodworking project stays fun and stress-free.
For your diy planter box, you’ll need reliable tools and quality materials. Cedar is a great choice because it fights off rot and insects well. Having everything ready saves time and avoids last-minute trips to the store.

When making garden boxes, focus on durable hardware. For diy garden boxes, make sure you have these items:
- High-quality cedar boards (untreated is best for vegetables)
- Exterior-grade deck screws (to prevent rust)
- A reliable power drill with driver bits
- A circular saw or miter saw for precise cuts
- A measuring tape and a carpenter’s square
- Safety glasses and work gloves
Raised garden planters diy projects are easier on a clean, flat surface. Keep a pencil and level handy for perfect alignment. Double-check your measurements to achieve a professional finish.
Remember, safety is key in any construction task. Always wear protective gear and follow power tool instructions. With your materials and tools ready, you’re set to create a beautiful garden space.
How to Build a Raised Planter Box from Cedar Boards in One Afternoon
Creating a custom garden space is a rewarding and easy woodworking project. You don’t need to spend your whole weekend in the workshop. With a streamlined approach, you can finish it in just a few hours.
This raised planter box design is efficient and durable. We focus on simple cuts and easy assembly. This way, you can spend more time gardening and less time measuring. It’s great for beginners who want to see quick results in their backyard.

To ensure a successful fast strawberry tower build, follow these essential steps for assembly:
- Measure and mark your cedar boards to ensure uniform dimensions for all four sides.
- Pre-drill your pilot holes to prevent the wood from splitting during the fastening process.
- Align the corners carefully to ensure the frame remains square and stable.
- Secure the boards using weather-resistant exterior screws for long-term outdoor use.
- Check the level of your frame once the initial structure is complete to ensure proper drainage.
By following this simple planter box tutorial, you can work quickly while maintaining high standards. Keep your workspace organized and tools within reach. This way, you avoid unnecessary downtime. You’ll find that How to Build a Raised Planter Box from Cedar Boards in One Afternoon is achievable. It yields beautiful, functional results for your home garden.
Preparing Your Cedar Boards for Assembly
A successful project starts with precise preparation of your cedar boards. Measuring and marking your lumber accurately is key. This creates a solid base for your wooden planter box. Proper planning helps avoid mistakes and ensures a perfect fit during assembly.
Following a simple planter box tutorial means clear measurements are essential. To start making garden boxes, use a reliable tape measure and a carpenter’s square. Always double-check your marks before cutting to avoid wasting materials.

When cutting lumber, aim for clean, square edges. This ensures your frame sits level on the ground. Many enjoy building diy garden boxes because it’s straightforward with correct cuts. Off-cuts can cause your garden boxes to wobble or have gaps.
After cutting, sand the rough edges of your wood. This step makes your garden boxes raised diy project look professional. Sanding also protects your hands from splinters while building your backyard garden boxes.
To keep your workflow organized, follow these essential preparation steps:
- Measure twice to ensure total accuracy before cutting.
- Use a sharp blade for clean, splinter-free edges.
- Sand all cut surfaces to achieve a smooth finish.
- Group your boards by size to simplify the assembly process.
Constructing the Frame of Your Planter
Building the frame is the most rewarding part of your backyard garden bed construction project. Once your cedar boards are cut, you can start assembling your diy garden bed. This phase turns raw lumber into a functional structure that will be the heart of your garden.
To ensure a fast planter box build, start by aligning your corner posts with the side panels. Whether you are creating a simple rectangle or learning how to build an l-shaped raised garden bed, the core assembly steps remain consistent. Using high-quality exterior screws is essential for a diy raised garden that lasts for many seasons.

When working on your diy garden beds, stability is the primary goal. Because your raised beds diy project will eventually hold a significant amount of heavy soil, the joints must be secure. We recommend pre-drilling your holes to prevent the cedar from splitting during the fastening process.
Follow these steps to assemble your frame effectively:
- Align the end of your side board flush against the corner post.
- Drive at least three exterior-grade screws through the board into the post for maximum hold.
- Check for squareness using a carpenter’s square to ensure your diy raised beds are perfectly aligned.
- Repeat this process for all four corners to complete the perimeter of your backyard raised garden.
Properly securing these joints ensures that your raised garden planters diy project remains rigid under pressure. These raised planters diy techniques provide the durability needed for long-term use. By following these simple steps, your gardening beds raised diy setup will be ready for soil and plants in no time.
Adding Structural Integrity and Drainage
Your diy raised garden needs a solid foundation to prevent water buildup and root rot. A healthy garden requires excellent drainage. This is why you must prioritize base preparation before adding soil. By focusing on these technical details, you ensure your backyard raised garden remains productive and healthy for many seasons.
To keep your plants thriving, you should consider the specific raised garden bed depth required for your vegetables. Deep-rooted crops like tomatoes or carrots need more space than shallow-rooted herbs. If you are building raised garden beds off the ground, ensure the base is sturdy enough to support the weight of wet soil and heavy plant growth.

Effective outdoor garden bed construction involves using materials that allow water to escape freely. You can line the bottom of your plant beds with hardware cloth to keep out burrowing pests while maintaining drainage. Adding a layer of landscape fabric is another great way to suppress weeds in your raised garden area.
When planning your diy raised beds, keep these essential tips in mind for long-term success:
- Ensure your diy garden bed is level to prevent water from pooling in one corner.
- Use high-quality cedar to maintain the backyard garden bed construction integrity over time.
- Check that your gardening beds raised diy setup allows for proper airflow beneath the frame.
- Avoid the need to dig raised garden bed soil by building directly on top of existing grass or dirt.
Properly executed raised beds diy projects provide a superior growing environment compared to traditional plots. By carefully managing drainage and depth, you create a garden bed raised diy space that minimizes maintenance. These simple steps will help your diy garden beds flourish throughout the year.
Choosing the Right Soil and Plant Layout
After setting up your cedar frame, it’s time to think about soil and plants. The most important factor for a successful garden is the soil. Good soil gives your plants the nutrients and air they need to grow well.
For the best results, mix compost, peat moss, and vermiculite. This mix helps water drain well but keeps enough moisture. Also, make sure your garden boxes are deep enough for your plants’ roots.

Good garden planning is key to a high yield. Whether you have a small or large garden, these tips will help. Here are some strategies for your outdoor garden:
- Group plants with similar needs together for easier care.
- Use a grid to ensure plants have enough space.
- Add vertical trellises for climbing plants to save space.
- Rotate crops yearly to keep soil healthy and pest-free.
If space is limited, choose high-yield plants for containers. Even a small area can become a productive garden with the right plan. A clear plan makes managing your garden easier.
Your garden design should be easy to access. Make sure you can reach the center from all sides. With the right soil and a good plan, your backyard garden will be fruitful all year.
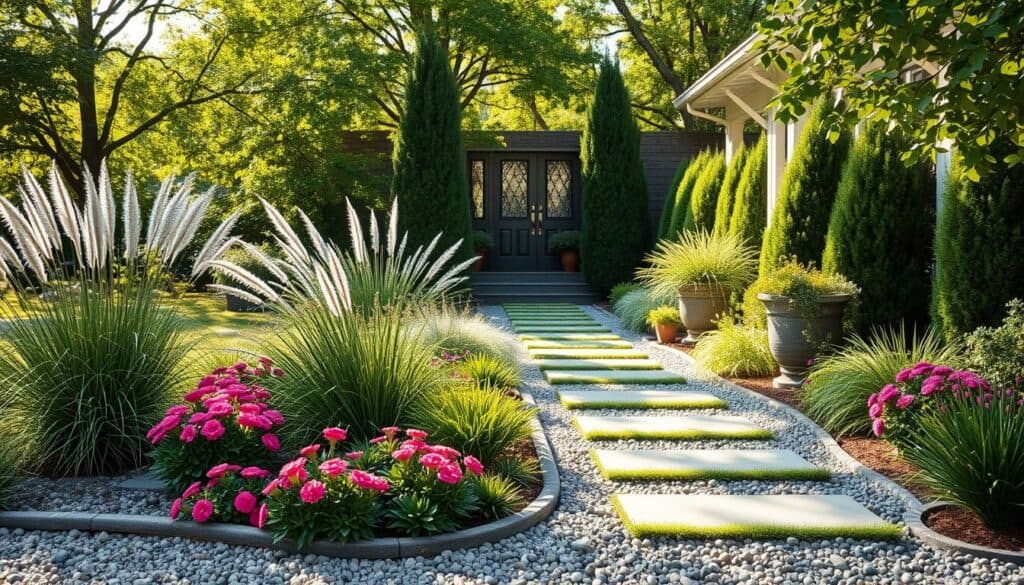
Creative Design Ideas for Your Raised Beds
Start turning your backyard into a dream garden with creative raised bed designs. These designs can be more than just useful. They can be a stunning centerpiece for your outdoor decor, blending function with art. By thinking creatively, you can make your vegetable garden a beautiful focal point.
Adding vertical trellises to your cedar frames is a great idea. They support climbing plants like peas or cucumbers. This adds height and interest to your garden. Decorative corner posts can also give your flower planter boxes a custom, polished look.

For unique shapes, try building an l-shaped raised garden bed. It maximizes space and adds a distinct architectural feature. This layout is ideal for a raised bed kitchen garden. It lets you organize herbs and vegetables easily. Many gardeners find it improves their harvest efficiency.
Here are some creative ideas for your backyard veggie garden:
- Make a covered herb garden to protect plants from harsh weather.
- Use a 4 raised garden beds layout for a symmetrical vegetable garden design.
- Add built-in benches to your raised kitchen garden beds for a cozy spot to relax.
- Try tiered garden beds design to add depth and dimension to your landscape.
Whether you’re planning a small kitchen garden or a huge garden, focus on both beauty and growth. These creative raised beds will make your outdoor space a source of pride and fresh produce all season.
Maintenance Tips for Long-Lasting Cedar Planters
Looking after your cedar planters is easy. Cedar naturally fights off rot and decay. But, following some maintenance tips for long-lasting cedar planters will keep your garden looking great for years.
Start by checking your flower planter boxes every spring. Look for any loose screws or hardware. This simple check is key to keeping your outdoor decor safe and sturdy.

To keep the wood looking new, use a natural, food-safe wood sealer. It keeps the cedar’s warm color. Also, using small feet or blocks under your raised garden beds off the ground helps with airflow and prevents moisture buildup.
Changing up your raised garden bed decor is a fun way to update your space. Swap out seasonal flowers or add decorative stones. These steps keep your investment beautiful and useful for years.
- Tighten all hardware annually to maintain structural integrity.
- Apply a non-toxic, food-safe sealer to protect the wood grain.
- Clear away debris from the base to encourage proper drainage.
- Inspect the wood for any signs of wear after harsh weather.
Conclusion
Building your own cedar planter is a rewarding garden project. It brings life to any outdoor space. This guide helps you start a home vegetable garden easily.
You now have the skills to manage your own food garden. Enjoy fresh harvests every day.
Think about your next steps for raised bed garden planning. You might try creative raised beds or a covered herb garden. These set ups work for small or big gardens.
Look for dream garden ideas to inspire your outdoor vegetable garden. Whether you like raised bed vegetables or lush fern beds, your cedar structure is perfect. Use these ideas to try different layouts and plants.
Many gardeners enjoy trying huge garden ideas. These ideas can turn simple plots into productive havens. Start small with your garden beds vegetable collection and watch your skills grow.
Your journey into gardening offers endless possibilities. Explore new ideas for gardening to keep your interest high. Above garden ideas raised beds provide the perfect environment for your plants to thrive.